
-
Grate the Cheese: Use the fine side of a box grater for the cheese. Do not use pre-shredded bags; the anti-clumping starch will ruin the “snap” of the straw.
-
Cream the Base: In a large bowl or stand mixer, cream the softened butter and grated cheese together until smooth and well-combined.
-
Mix the Dry Goods: Sift together the flour, salt, cayenne, and paprika.
-
Combine: Gradually add the flour mixture to the cheese and butter. Mix on low speed until a stiff dough forms. If it feels too crumbly to hold its shape, add a teaspoon of water at a time until it comes together.
-
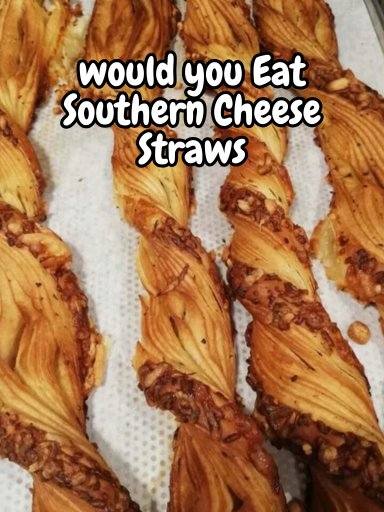
The Shape: * Traditional: Load the dough into a cookie press fitted with the “star” or “ridged” disc. Pipe long ribbons onto a parchment-lined baking sheet and cut them into 2- or 3-inch lengths.
-
The “Easy” Way: If you don’t have a press, roll the dough out to 1/4-inch thickness and cut into thin strips or small circles with a pastry wheel.
-
-
The Bake: Bake at 350°F for 12–15 minutes. You want them to be set and barely golden on the bottom. Do not overbake! They should be crisp, not browned.
-
The Cool: Let them cool completely on the baking sheet. They will “crisp up” as they sit.
3 Tips for “Best in Show” Cheese Straws
-
The “Sharp” Rule: Always use the sharpest cheddar you can find. Mild cheddar will result in a greasy, bland cracker. The sharper the cheese, the more “tang” and better structural integrity the straw will have.
-
Room Temperature: Ensure your butter is truly softened (but not melted). This allows it to emulsify with the cheese so you don’t end up with pockets of plain flour.
-
Storage: These are the ultimate make-ahead snack. They stay fresh in an airtight tin for up to two weeks (if they last that long).
Variations
-
The Herbaceous Straw: Add 1 tablespoon of finely chopped fresh rosemary or thyme.
-
The “Pimento” Twist: Add ½ teaspoon of garlic powder and a tiny bit more paprika to mimic the flavor of Pimento Cheese.
ADVERTISEMENT

